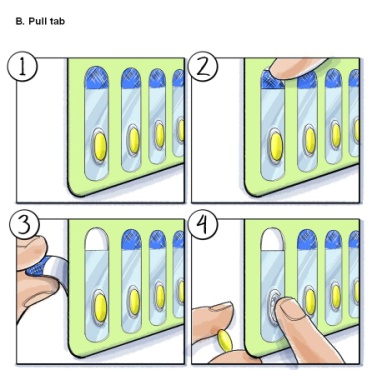
A step-by-step guide on how to use a pull tab. It is a collage of four illustrations each showing a different step in the process.
The first illustration shows a green pull tab with a blue handle and a yellow button. The second illustration shows the pull tab being pulled from the top left corner of the image. The third illustration shows that the pull tabs are being pulled back from the bottom right corner. The fourth illustration shows how to pull the tabs from a green tray. The fifth illustration shows two hands holding the tabs one on each side of the tray and the other on the bottom left corner.
Category
Source 1 of 4
-
Date
2005
Collection
-
Date
2005
Collection
-
Date
2010
Collection
-
Date
2005
Collection
We encourage you to view the image in the context of its source document(s) and cite the source(s) when using these images. However, to cite just this image alone, click the “Cite This Image” button and then paste the copied text.


